
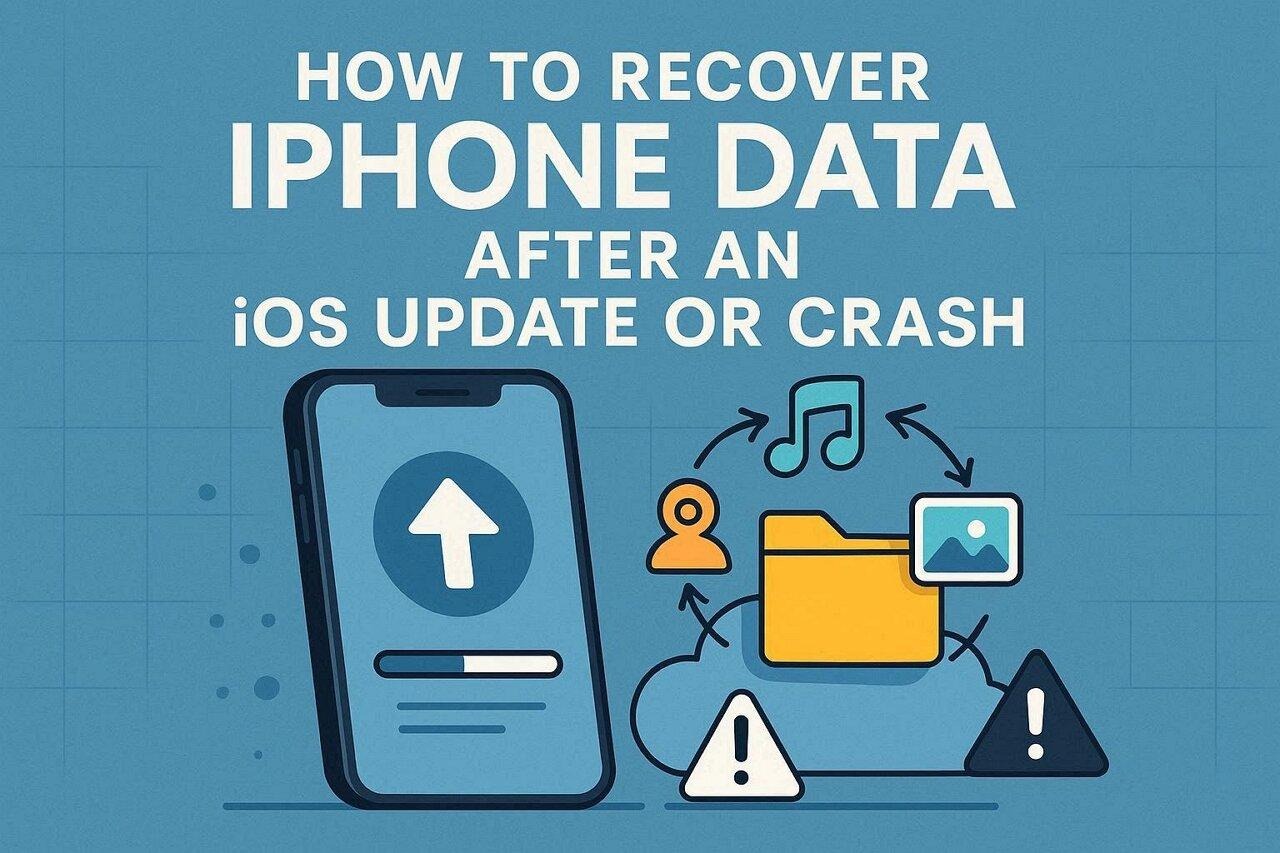
A lot of iPhone users feel scared when data disappears after updates or crashes. Many think everything is lost forever when photos or messages disappear from a device. However, missing content is hidden due to sync delays or temporary indexing problems. Still, a careful checklist helps identify whether data is gone or just delayed.
In case official methods fail, guided tools can provide safe recovery options for everyone. Dr.Fone data recovery software offers structured steps to retrieve lost iPhone content. Hence, in this ultimate guide, you will discover a complete checklist to troubleshoot issues without hassle.
Part 1. Check if iPhone Data Is Hidden After an iOS Update
After iOS updates, data appears missing when it’s still present somewhere. Yet, third-party data recovery software for iPhone helps when basic checks reveal nothing. Sync delays between iCloud and the device can make photos or messages invisible. Also, new iOS indexing processes sometimes take hours before content fully reappears. So, the table below shows quick fixes for data that’s hidden, not truly deleted:
| Issue | Possible Cause | Suggested Action | Notes |
| Missing Photos | iCloud sync delay | Open the Photos app and refresh the library | Wait a few minutes for updates |
| Disappeared Messages | Account sign-in issue | Sign out and back into iCloud | Messages reappear after syncing |
| Invisible Contacts | Indexing problem | Restart the device and check the Contacts app | Data may reappear after indexing finishes |
| Apps Not Showing | App data hidden | Reinstall the app or check iCloud settings | Ensure app sync is enabled |
| Temporarily Lost Files | Minor glitch | Restart iPhone or force sync | Hidden files often return automatically |
Part 2. Ensure iCloud and Network Are Synced to Restore Missing iPhone Data
Many times, sync problems hide data instead of deleting it from devices. Moreover, network issues or account errors cause the temporary invisibility of your files. Check these common sync blockers before moving to the advanced recovery solutions. Plus, using iOS recovery software may help if manual fixes fail to restore content. So, the following points explain the steps to check a few things to restore missing data:
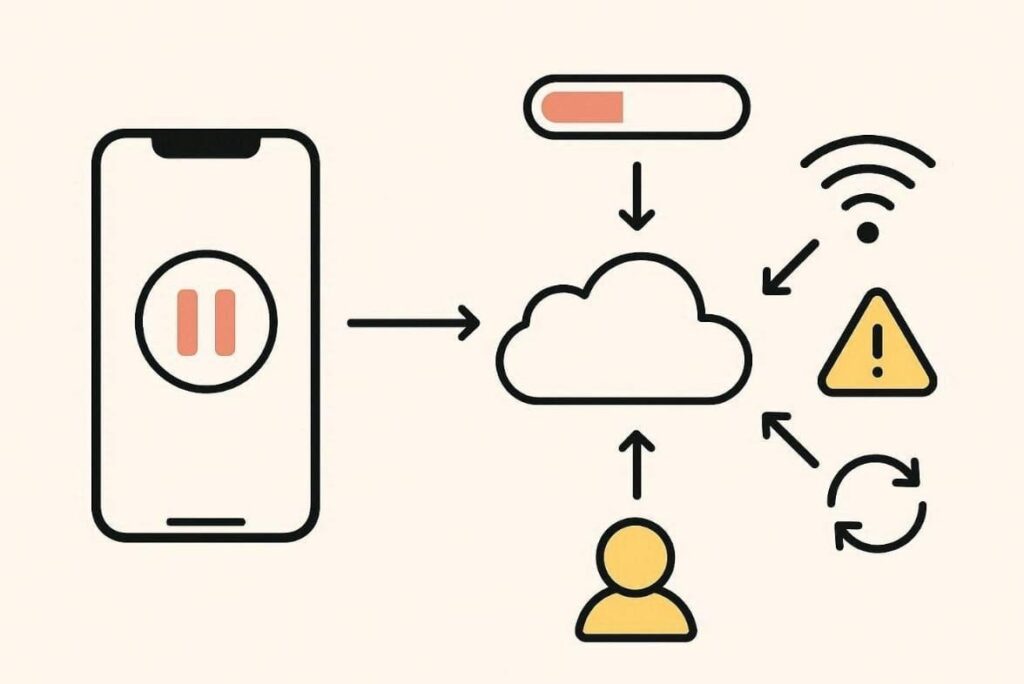
- Pause Sync: Sometimes sync may be paused after updates or temporary errors. Thus, resuming sync ensures all files and app data start updating to iCloud again.
- Storage Full: iCloud storage limit reached, preventing new data from syncing across devices. You should delete old backups or buy more storage through iCloud settings.
- Network Weak: Poor Wi-Fi or cellular data slows iCloud sync to a complete standstill. So, switch to a stable Wi-Fi network and wait for the sync status to update.
- Account Conflict: Multiple Apple IDs also confuse iCloud sync across apps. Hence, sign out of all accounts and sign back into your primary Apple ID.
- App Outdated: Old app versions fail to sync with the newest iOS system updates. Update all apps through App Store before retrying the iCloud sync process.
Part 3. Use iPhone Backups Smartly Without Overwriting Current Data
Backups are helpful, but careless restores can erase recent changes and create new problems. Before restoring anything, users should confirm backup dates to avoid replacing newer data. Moreover, checking timestamps prevents restoring old files over photos or app data. Besides, avoid restoring if the current device has unsaved changes or new information.
If backups look incomplete, guided scanning can check storage without overwriting anything. That is where Dr.Fone data recovery software supports careful recovery decisions. It allows previews so users can restore only what matters, avoiding unnecessary data replacement. Moreover, using backups keeps progress safe while exploring solutions for missing information. Overall, patience and verification turn backups into protection.
Part 4. When to Use iPhone Data Recovery Software for Lost Files
Many times, official options fail, leaving users unsure whether their data remains recoverable. This situation appears after crashes or backups that are missing important recent information. At this stage, careful evaluation helps decide if deeper scanning is actually required. Thus, the given points show when iOS recovery software becomes necessary for users:
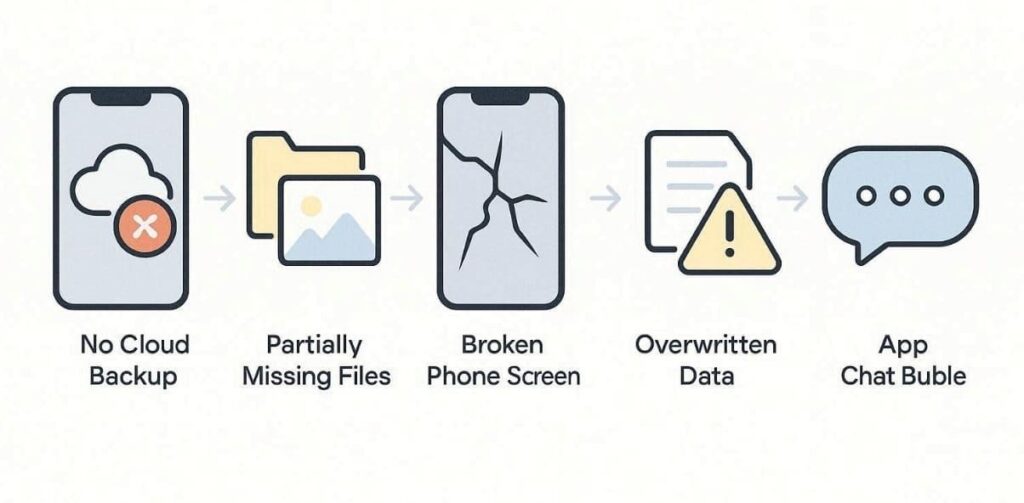
- No Backup: If no backups exist, standard restore methods cannot restore deleted files. Recovery tools scan device storage, offering chances beyond cloud-based options alone.
- Partial Loss: When specific data disappears, full restores risk overwriting remaining data. Selective recovery allows for the retrieval of missing items while protecting content still available.
- Broken Device: When the iPhone screen is broken, normal access becomes impossible. Yet, specialized software connects through computers to extract data without hassle.
- Files Overwritten: New data written after deletion makes Apple recovery methods ineffective. Advanced scanning finds traces of old files before permanent storage overwrite occurs.
- App Data: Messaging and social apps store data outside backups, making recovery harder. Dedicated recovery tools locate chat databases missing after restores from backups.
Part 5. Why Dr.Fone Is a Reliable Guide for iPhone Data Recovery Under Pressure
When you can’t restore data, clear guidance becomes essential during stressful moments. At this point, Dr.Fone – Data Recovery (iOS) provides structured steps for pressured recovery situations. This third-party data recovery software for iPhone restores data without overwriting. It works by scanning and showing recoverable files on your device. Besides, the preview shows actual photos and other data before the final commitment is made.
Alongside, selective recovery picks only the required files, avoiding the risk of overwriting. Moreover, local processing keeps sensitive information secure on your computer during recovery. Users can also recover data from broken or disabled phones that won’t power up. Plus, Dr.Fone extracts data from iCloud backups without erasing the current device contents. You can even retrieve Apple iWork files like Pages or Keynote from iCloud Drive.
Key Features
- Device Support: Full compatibility with the latest iOS 26 and iPhone 17 series devices.
- Wide Support: Supports over 35 data types, including social apps, documents, and video files.
- iTunes Extract: Extract files from iTunes backups without a complete device restore.
Comprehensive Guide to Restore iPhone Deleted Data via Dr.Fone
Review this ultimate guide to use this dedicated iOS recovery software for restoring your deleted data:
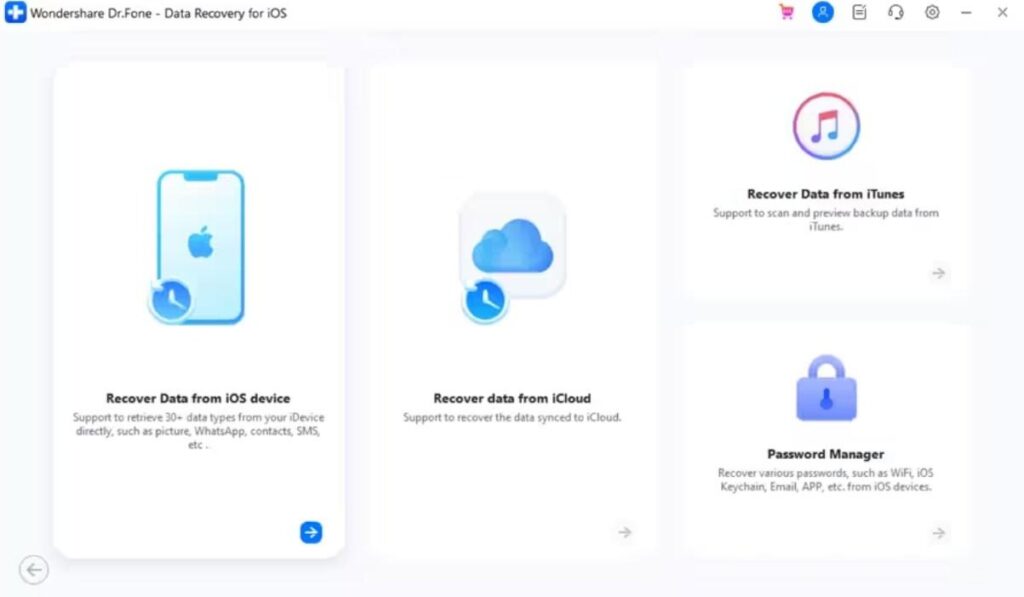
Step 1. Access the iOS Recovery Feature
You need to choose “Data Recovery” upon accessing the “Toolbox” section. Select “iOS” to click “Recover Data from iOS Device” and connect your iPhone to the PC.
Step 2. Choose the Data Types to Scan
After the iOS device is recognized, select the data types you want to retrieve and press “Start Scan.”

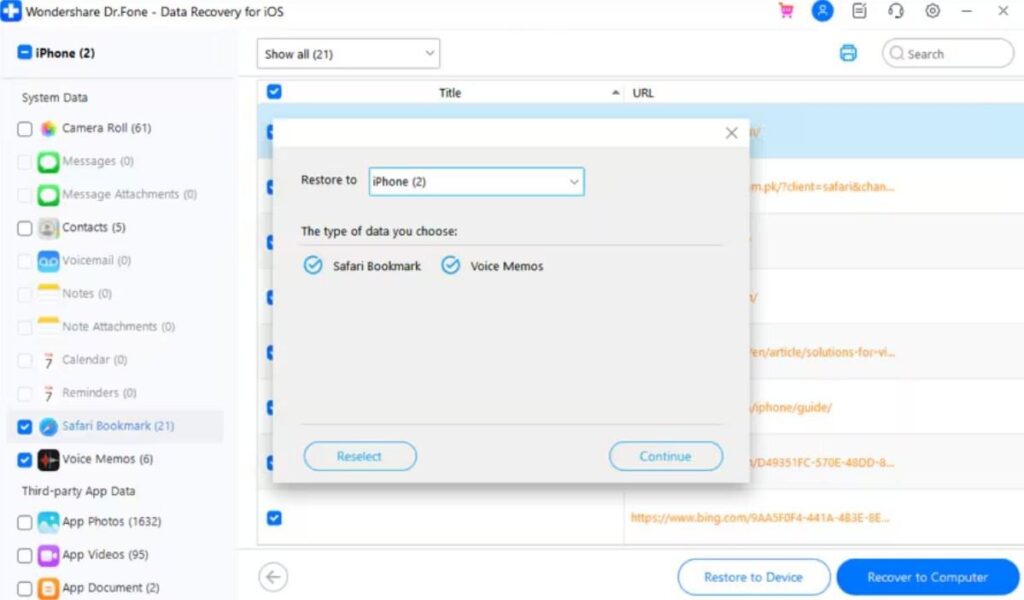
Step 3. Recover and Save Lost Data
When the scan completes, select the needed files upon previewing the results. Here, click “Restore to Device” to choose a location and press “Continue.”
Conclusion
In conclusion, this checklist helps users find missing data after updates or crashes. By checking sync backups and networks first, many problems are resolved. Moreover, careful steps prevent overwriting newer files and protect memories already stored. When native options fail, guided recovery gives control and clear direction. For deeper scans without stress, consider Dr.Fone data recovery software when needed.
Read More USA Times